Old Fashioned 14 Layer Chocolate Cake with Cooked Cocoa Frosting
The old fashioned 14 layer chocolate cake is more than just a dessert. It is a symbol of patience, tradition, and home-style baking that has been passed down through generations. This cake is especially known in Southern kitchens, where family recipes are carefully guarded and lovingly shared during holidays, reunions, and special Sunday dinners. Unlike modern layer cakes that rely on thick buttercream or ganache, this classic cake uses a cooked cocoa frosting made on the stovetop, giving it a rich, smooth, and slightly glossy finish that soaks beautifully into each thin layer.
What makes this cake truly special is the number of layers. Baking fourteen or even fifteen thin layers requires time, attention, and care. Each layer is baked individually, lightly browned, and stacked while still warm or once cooled. The result is a tall, impressive cake with delicate layers that melt together once the frosting is applied. This method may seem old-fashioned, but it creates a texture and flavor that cannot be replicated with shortcuts.
The History Behind the Multi-Layer Chocolate Cake
Multi-layer cakes became popular in the early to mid-20th century, particularly in rural areas where baking was a central part of daily life. Before electric mixers and pre-made frostings, cooks relied on simple ingredients and stovetop techniques. Cocoa frosting was cooked slowly to deepen its flavor and create a silky consistency. These cakes were often made for large gatherings, church events, and celebrations where one cake needed to serve many people.
The 14 layer chocolate cake became a showpiece dessert. Bakers took pride in how evenly they could spread the batter, how thin they could bake each layer, and how neatly they could stack them. The process itself became a tradition, often involving multiple family members helping in the kitchen. Even today, many people associate this cake with memories of grandparents, handwritten recipe cards, and kitchens filled with warmth and laughter.
Understanding the Ingredients
This cake uses simple, pantry-friendly ingredients, yet each one plays an important role. Shortening is used instead of butter in the cake batter, which helps create a soft and tender crumb. Whole milk, often referred to as “sweet milk” in older recipes, adds richness and moisture. Eggs provide structure, while baking powder ensures each thin layer rises just enough without becoming too thick.
Vanilla and butter flavoring work together to enhance the chocolate notes without overpowering them. The sugar balances the cocoa bitterness, and the flour forms the foundation of the cake. For the frosting, cocoa, sugar, butter, and evaporated milk are cooked together to create a smooth, pourable icing that sets beautifully as it cools.
Ingredients for the Cake
To make this old fashioned chocolate cake, you will need the following ingredients:
1 cup shortening
4 eggs
3 cups plain flour
2 tablespoons baking powder
2 1/2 cups whole milk
1 tablespoon vanilla flavoring
1 tablespoon butter flavoring
2 cups sugar
Ingredients for the Cooked Cocoa Frosting
For the frosting, gather these ingredients:
3 cups sugar
6 tablespoons cocoa powder
1 cup butter
1 can evaporated milk
Preparing the Cake Batter
Begin by sifting the flour and baking powder together. This step helps remove any lumps and ensures the baking powder is evenly distributed throughout the flour. Set this mixture aside while you prepare the wet ingredients.
In a large mixing bowl, cream the shortening and sugar together until the mixture becomes light and fluffy. This step is essential, as it incorporates air into the batter, helping the cake layers remain tender rather than dense. Take your time with this step for best results.
Add the eggs one at a time, beating well after each addition. This allows the eggs to fully incorporate into the batter and creates a smooth, cohesive mixture. Once all the eggs are added, begin alternating the flour mixture with the milk, mixing gently until everything is well blended.
Finally, stir in the vanilla and butter flavoring. These flavorings add depth and warmth to the cake, enhancing its old fashioned charm. The batter should be smooth, slightly thick, and easy to spread.
Baking the Thin Layers
Preheat your oven to 375 degrees Fahrenheit. Prepare your 9-inch cake pans by greasing them with shortening and lightly dusting them with flour. Many bakers prefer using a baking spray with flour for convenience. It is important to wash the pans between each layer to prevent buildup, which can affect how evenly the layers bake.
Measure out approximately half a cup of batter for each layer. Spread it evenly across the bottom of the pan, ensuring the batter reaches the edges. Because the layers are thin, they bake quickly. Place the pan in the preheated oven and bake until the layer is lightly browned.
Once baked, remove the layer from the pan and place it on a wire rack or clean towel to cool. Some bakers prefer stacking the cake while the layers are still warm, allowing the frosting to soak in slightly. Others wait until all layers are fully cooled. Both methods work well and depend on personal preference.
Making the Cooked Cocoa Frosting
The frosting is a defining feature of this cake and should be prepared first so it has time to cool. In a large, heavy-bottomed saucepan, melt the butter over medium heat. In a separate bowl, mix the cocoa powder and sugar together to remove any lumps.
Add the cocoa and sugar mixture to the melted butter, then pour in the evaporated milk. Stir continuously as the mixture heats. Bring it to a rolling boil, then reduce the heat slightly and continue cooking for two minutes. Constant stirring is crucial to prevent scorching and ensure a smooth texture.
Remove the frosting from the heat and allow it to cool. At this stage, it will be thin, which is exactly what you want. As it cools, it will thicken slightly but remain spreadable. This thin consistency allows it to seep into the layers, binding the cake together.
Assembling the Cake
To assemble the cake, place the first layer on a cake plate or stand. Spoon a generous amount of frosting over the top, spreading it evenly to the edges. Add the next layer and repeat the process, continuing until all layers are stacked.
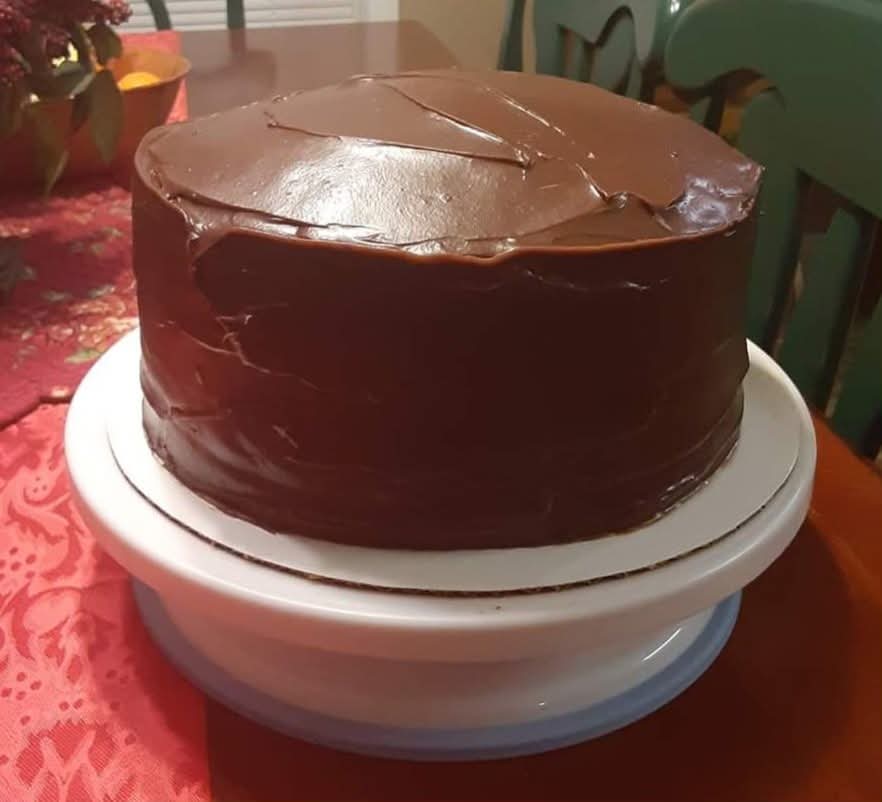
Once the layers are assembled, use the remaining frosting to cover the top and sides of the cake. Do not worry about achieving a perfectly smooth finish. This cake is meant to look homemade and rustic, reflecting its traditional roots.
Serving and Storing the Cake
This cake can be served slightly warm or at room temperature. As it sits, the frosting continues to soak into the layers, making the cake even more moist and flavorful. Many people believe it tastes even better the next day.
Store the cake covered at room temperature for up to two days, or refrigerate it for longer storage. Bring it back to room temperature before serving to enjoy its full flavor and soft texture.
A Cake Worth the Time
Making an old fashioned 14 layer chocolate cake is a labor of love. It requires patience, attention to detail, and a willingness to slow down and enjoy the process. In return, it offers a dessert that is rich in flavor, history, and comfort.
Whether you are continuing a family tradition or discovering this cake for the first time, it is sure to become a cherished recipe in your collection. Each thin layer tells a story, and every bite is a reminder of the beauty of traditional baking.